Once spring arrives, you’ll see your beehive boom. There will be a massive increase in population, increase in honey stores and pollen stores. Because of this boom, many beekeepers go towards splitting a beehive. Splitting a beehive is very common during spring and summer.
Good reasons to splitting a beehive:
- The main reason that beekeepers conduct a split is to prevent overcrowding. Overcrowding in the beehive can risk swarming.
- Splitting allows you to expand your beehive into two hives. Having two beehives instead of one has a lot of benefits. For one, if one of the beehives is weak, the stronger one can be an aid to get it back into shape. For example, if the weak hive has less brood populations, you can put brood frames from the stronger hive to help the weak hive increase its populations.
- More honey! Since you’re getting double the hive, there is an increase in the production of honey.
- Colony for sale. Many beekeepers sell split colonies to sell to other beekeepers, most commonly the new beekeepers.
Basic Steps To Splitting a Beehive:
Each beekeeper has their own way of splitting a hive. Once you get the hang of the basics, you can find a way that works for you!
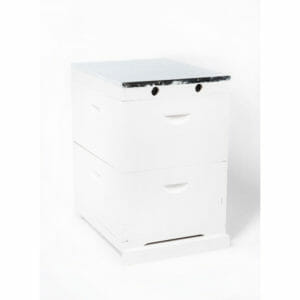
Before proceeding, make sure that the hive you are splitting is healthy, strong and large enough to be able to split. Most beekeepers split evenly, commonly known as an “even split”, where the hive is split into equal halves. In most cases, first year colonies are not recommended to split. Usually, beekeepers split colonies that have survived winter.
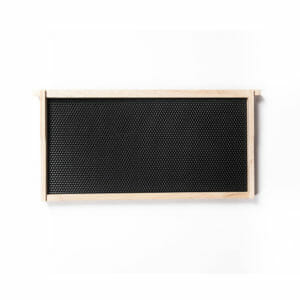
- To start, prepare your new equipment, set up the new beehive and begin to transfer two honey frames.
- Decide whether you want to introduce a new queen or let the worker bees establish their new queen. Introducing a new queen can save the new beehive a lot of time. A queen cell can take at least 3 weeks to hatch, to mate and lay eggs. However, letting the bees establish their own queen can save you some money if you do not have any other hives available. If you’re doing so, make sure to plan accordingly.
- When selecting which brood to transfer, make sure to take plenty of the capped brood. The brood will hatch soon and will help increase the new hive population.
- Additionally, transfer at least one frame of uncapped brood with some nurse bees. Shake some adult bees as well. This will help a variety of bees with different activities to contribute in the hive and take care of the brood.
- Monitor the new hive closely and make sure there are enough adult bees for the hive to function.
For more methods and step by step process in splitting a hive, read here.
Things to Consider:
One thing to consider when doing a split is the drift. Drift refers to foragers who will return to the original hive. This can be a problem especially if your split hive and the original hive is located in the same area. As a result, the split is a failure. You can address this in any ways such as:
- Shake in adequate nurse bees as they will not be able to fly back to the original hive.
- Block the entrance and relocate the split at least 3 miles away from the original hive.
Are you prepared to conduct a split? It sounds easy in theory but we recommend conducting a split with an experienced beekeeper for your first time. It is always better to have observed how it’s properly done before doing it on your own. Goodluck!
Interested in buying beekeeping tools and equipment in bulk and discounted price? For personalised advice on products and tips for beehive management, give us a call on 0488 010 840 or get in touch via email at [email protected]. Shop online here (free shipping for orders over $300)!